
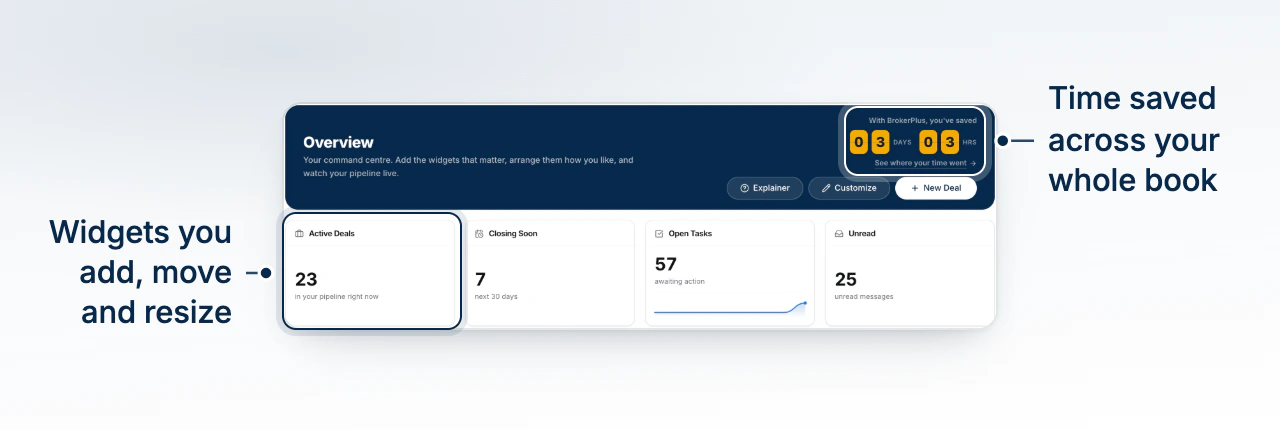
Your Home, the Overview Page
4:09 minSet Up Your Workspace
Connect the services BrokerPlus runs on, then tell it who you are and how you are paid.
What You Will Learn
Connect Your Sending Address
Link the mailbox you already write from, so replies come back into BrokerPlus instead of scattering across your inbox.
Record How You Are Paid
Enter your licence details and your default commission once. Every deal you build afterwards carries them.
Put Your Brand on Everything
Set your logo, colours and typefaces so reports and messages leave looking like your firm rather than ours.
Your Checklist for This Stage
Watch the recording, then work through the rest in BrokerPlus and tick each one off. Every step links to a guide if you want the detail.
Watch the Stage Recording
On the plate above, covering the whole stage. This one ticks itself when the recording ends.
Create Your Account
Sign up with your name, email and a password, or accept the invite your brokerage sent, and BrokerPlus builds the workspace as you do.
Walk the Setup Wizard
Answer the six screens the wizard asks for, and skip any you would rather come back to later.
Tour Your Workspace
Learn the Overview page, the sidebar and the account menu before you start changing settings.
Open the Get Started Checklist
See which setup modules are done and which are still required, because the list is built from how you work.
Connect Your Email
Link the mailbox you already write from, so client mail lands here and files itself onto the right deal.
Connect Your Calendar
Your calendars arrive with the mailbox, so choose which ones appear and how each is coloured.
Set Up Your Booking Link
Publish the hours you are free so a client can claim a meeting without the back and forth.
Claim Your Phone Number
Search a Canadian area code and claim a line, so calls and texts sit on the client's record with everything else.
Set Your Default Commission
Record the finder fee to assume when a deal has no rate of its own, and switch on the other income streams you earn.
Record Your Licence Details
Add your licence number, class and provinces so regulated work only reaches someone who can take it.
Set Your Brand Colours and Logo
Upload your logo and pick your colours, because every report and message a client opens paints from them.
Start Here
Watch the Stage Recording0 of 12 steps done in this stage.
Go Deeper
This stage touches the sections below. Each one holds the full reference, for when you need more than the checklist.