
A tag is a custom label you put on a person so you can find that group again later. Type and partner role are fixed fields; tags are yours to invent, which makes them the right home for a lead source, a campaign, or a client who has gone quiet. Your list starts empty and holds only what you create.
Watch Mandric walk you through this topic
8:07Creating a Tag
- Open Manage tags from the overflow menu at the top right of Contacts.
- In the Contact tags panel, choose New tag.
- Type a Tag name of up to 40 characters, pick one of the four preset colours or the custom swatch beside them, then choose Add.
Names are unique across your brokerage, so a second tag with a name already in use is refused.
Tagging One Contact
On a contact's page, the tag row sits with their details. Choose Add tag when they carry none, or Tag when they already have some. The picker lists every tag in your brokerage with a Search tags box above it. Selecting a row applies the tag and shows a tick; selecting it again takes it off. Each chip on the row also has its own remove control.
If the tag you want does not exist yet, use Create a tag at the bottom of that picker. It is created and applied to this contact in one step. If you mistyped one, hovering its row in the picker shows a bin that archives it outright, so a tag you have just created can be undone where you made it.
Tagging Many at Once
Tick the contacts you want in the table. The bar that appears at the bottom of the screen counts your selection and carries a Tag button.
Each row reads the whole selection. A full tick means everyone selected carries that tag, a faint tick means only some do, and no tick means none do. Pressing a row that isn't fully ticked gives the tag to everyone selected; pressing a fully ticked row takes it off everyone. Changes save as you click, and the selection holds as you page through the table. One press handles up to 500 contacts. The picker lists your plain tags only - a tag you've turned into a contact type lives under the Type button instead.
Filtering by Tag
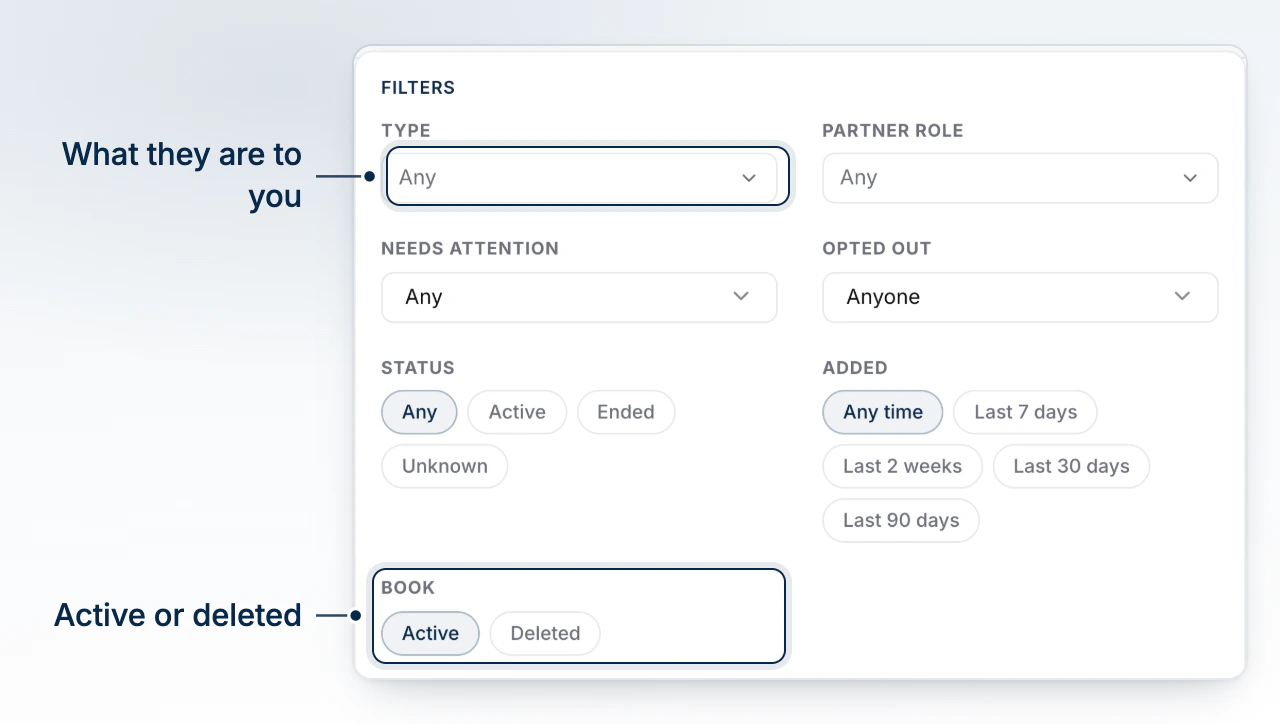
Open Filters in the Contacts toolbar. A Tags section appears there once at least one tag is in use, with a count beside each one. Tick several and you get every contact carrying any of them. The filter is written into the address, so the filtered view is a link you can keep or send to a teammate.
Renaming or Archiving a Tag
Hover a row in Contact tags to reach its edit and archive controls. Editing lets you change the name and the colour, and the change reaches every contact already carrying it.
You can also archive a tag without leaving the picker: hover its row there and choose the bin. Because that takes the tag off everyone rather than off the contact in front of you, the row asks you to confirm before anything happens.
Archiving takes the tag off everyone
Archiving a tag removes it from every contact it was on, wherever you archive it from. Creating a tag with the same name later brings the name back, but not the people who were tagged. To take a tag off one person only, use the remove control on their own chip instead.
What to Do Next
- Find a Contact With Filters and Facets to combine tags with type, role and status.
- Use the Contact Profile to see what else lives on a person's page.